Time Tracking
Introduction
As a freelancer and business owner, I’ve always had a habit of tracking my time. Whether a requirement for invoicing or for simple time management, I’ve had a need to track time for over 10 years.
During that time I’ve always used Toggl. It’s a fantastic little tool, that’s been extremely stable, is reasonably priced, has great integrations and apps, and is easy to use. It’s also stayed remarkably stable over the years. Seriously, big ❤️ to Toggl!
However, I recently came across SolidTime, which is a self-hosted time tracking tool that is very comparable to Toggl (when it comes to time tracking). It’s also open source and self-hostable.
Especially those last two features are what drew my attention. I’m a big fan of self-hosting, and by integrating Tailscale on all my devices, I can easily access any service I self-host securely, anywhere.
So, this is my journey of saying (maybe?) farewell to Toggl and migrating to SolidTime.
Installing SolidTime
Installing SolidTime is quite trivial, as long as you meet the prerequisite of having Docker and Docker Compose installed.
First, download the following files to your local machine:
# Create a folder that holds all the configuration and data for SolidTime.
$ mkdir SolidTime
$ cd SolidTime

# This gets the Docker-Compose configuration
$ wget "https://raw.githubusercontent.com/solidtime-io/self-hosting-examples/refs/heads/main/1-docker-with-database/docker-compose.yml" -O docker-compose.yml

# This gets the .env and laravel.env files
$ wget "https://raw.githubusercontent.com/solidtime-io/self-hosting-examples/refs/heads/main/1-docker-with-database/laravel.env.example" -O laravel.env
$ wget "https://raw.githubusercontent.com/solidtime-io/self-hosting-examples/refs/heads/main/1-docker-with-database/.env.example" -O .env
Now, use your favorite editor to change the following settings:
.env:
APP_DOMAIN=yourdomain             # I used my network hostname for this
DB_PASSWORD=your-secure-password  # Generate a secure DB your-secure-password
laravel.env:
APP_URL="http://local-dns-name:8000"  # Local network hostname or public DNS local-dns-name
APP_FORCE_HTTPS="false"               # Set to true if publicly exposed over https
DB_PASSWORD=your-secure-password      # Same password as in .env
MAIL_*                                # If you're sending mails, set up your SMTP config here
Now, we need to generate a few keys by running this command:
$ docker-compose run scheduler php artisan self-host:generate-keys

# Paste the output of this into your `laravel.env` in place of `APP_KEY`, `PASSPORT_PRIVATE_KEY` and `PASSPORT_PUBLIC_KEY`.
Now what’s left is to create the log and storage folders:
# Create the storage
$ mkdir logs app-storage

# Update permissions, set these properly to your envronment
$ chmod a+rwx logs app-storage
DB Migration
You can spin up the containers (this may take some time) and run the DB migration.
# Spin up the containers
$ docker-compose up -d

# Migrate the db
$ docker-compose exec scheduler php artisan migrate --force
If you don’t want to run this every time, you can have the application auto-migrate by adding this to the docker-compose.yaml file under the environment setting for app:
AUTO_DB_MIGRATE: "true"
User set-up
Now let’s set up your user.
# Set up user
$ docker-compose exec scheduler php artisan admin:user:create "Firstname Lastname" "firstname.lastname@some-email-provider.test" --verify-email

# The output of this command includes your password
Created user "Firstname Lastname" ("firstname.lastname@some-email-provider.test")
ID: d123456ca-5432-4234-aaaa-zzzzzzaaafff
Name: Firstname Lastname
Email: firstname.lastname@some-email-provider.test
Password: xxxxxxxxxxxxxxxxxxxxxxxxxxxxx
Timezone: UTC
Week start: monday
Currency: EUR
If you want to make this user a super user, add this to your laravel.env:
SUPER_ADMINS="firstname.lastname@some-email-provider.test"
Now, re-start the containers.
$ docker-compose down && docker-compose up -d
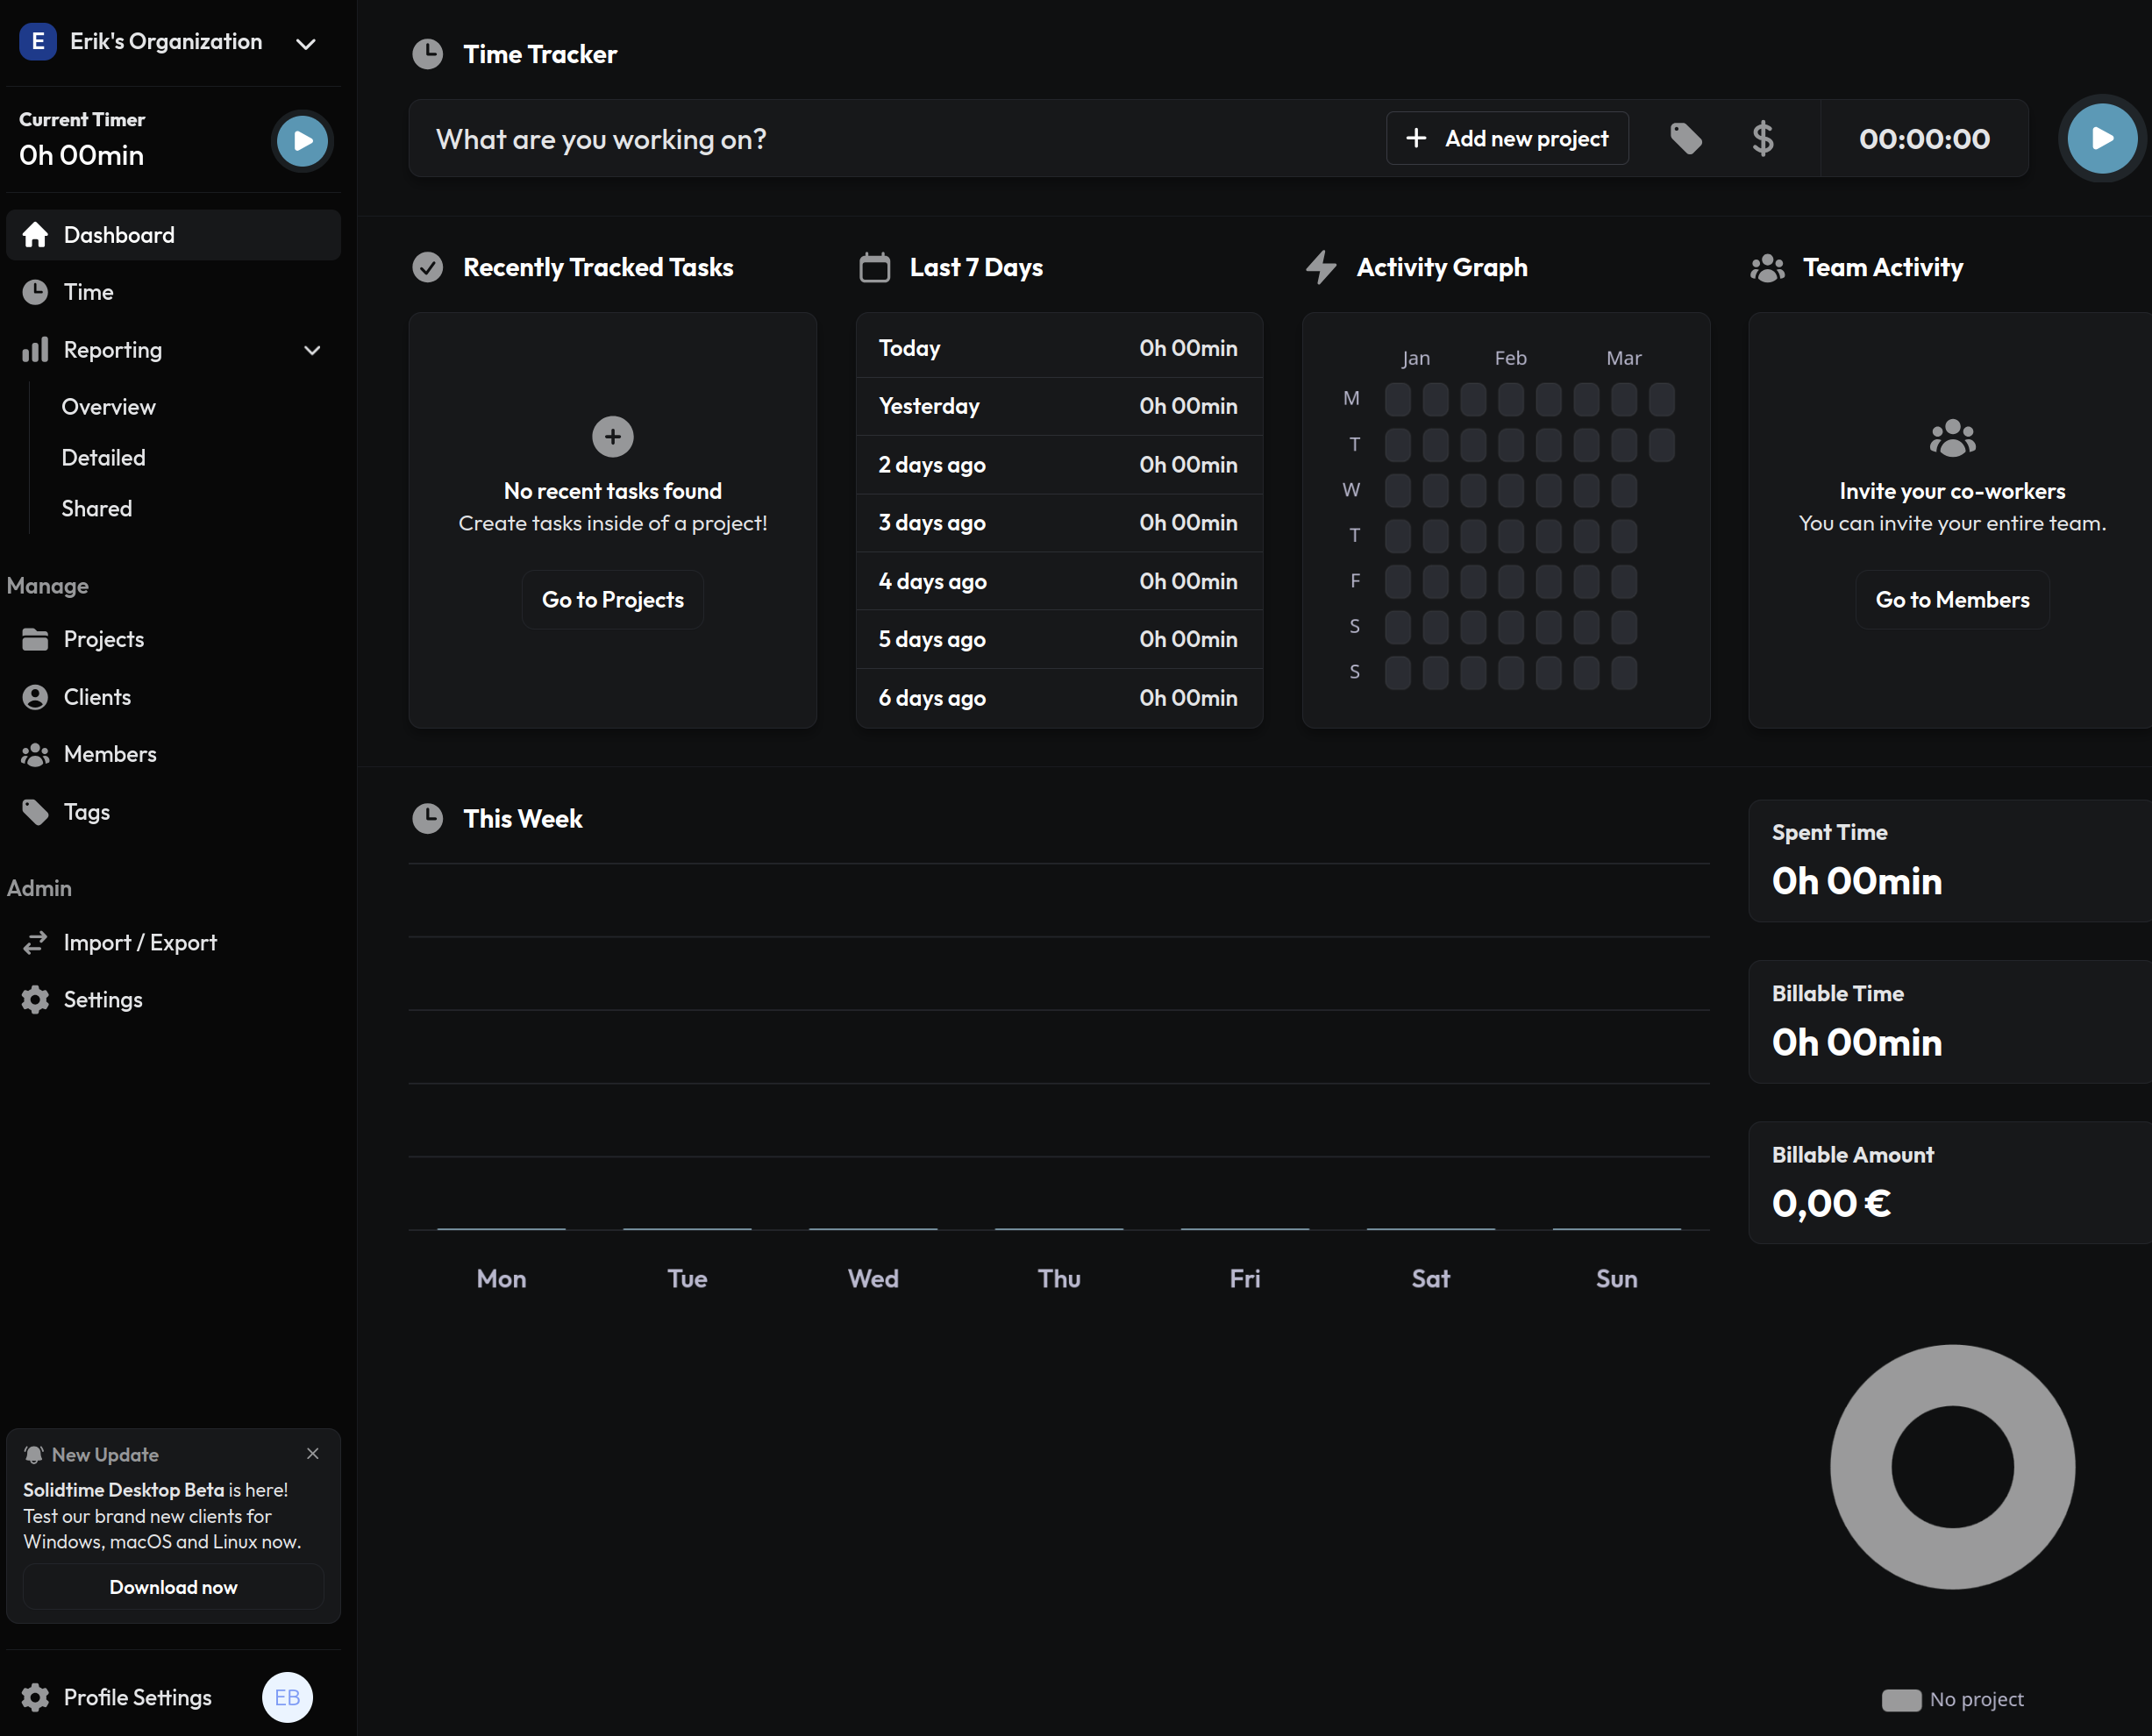
Now it’s time to log in! Visit your solidtime container. If it’s not coming up, check the logs through:
$ docker-compose logs -f
Migration from Toggl
Migration from Toggl happens in two steps:
- Migrate data
- Migrate time entries
To get an export of the data, follow these steps:
- Go to Toggl Admin -> Settings -> Data export
- Under “Data Export” select all items for export and click on “Export to email
- You will receive an email with a download link. Download the ZIP
To get an export of the time entries:
- Go to Admin -> Settings -> Data Export
- Under “Time entries” select the year you want to export and click on “Export time entries”
- Export all years one-by-one
(!) Before importing the time entries, make sure the time zone is the same in both Toggl and Solidtime.
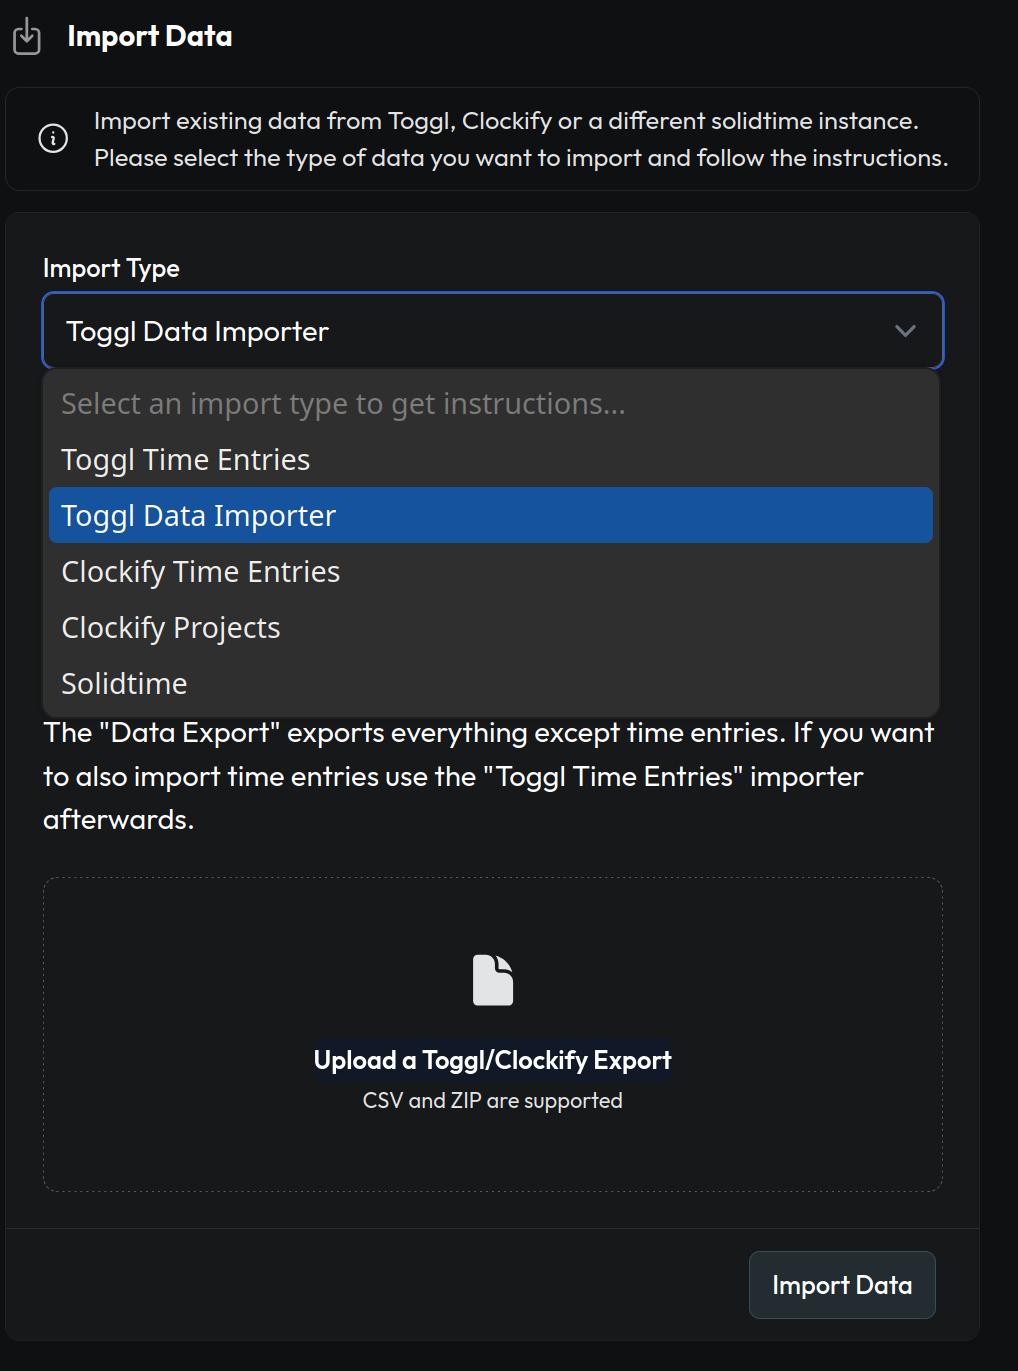
Importing the happens through the “Import/Export” screen in SolidTime.
Desktop client
The SolidTime desktop client is currently in Beta, it’s available from the GitHub repo.
Since I’m running Ubuntu Linux, I’ve installed it from the snap store using the following command:
# Install SolidTime from the `edge` channel
$ snap install solidtime --edge
Now, before opening the app, we need to run this command to enable the desktop client:
# This command outputs the client ID and the secret, which you'll need to input in the desktop client
$ docker-compose exec scheduler php artisan passport:client --name=desktop --redirect_uri=solidtime://oauth/callback --public -n
   INFO  New client created successfully.
  Client ID .............................. zzzzzz-zzzzzzz-zzzzzzzzzz-zzzzzzzzzz
  Client secret ...............................................................
Now, after opening the app, configure your instance settings using the Client ID and your server hostname/ip and port.
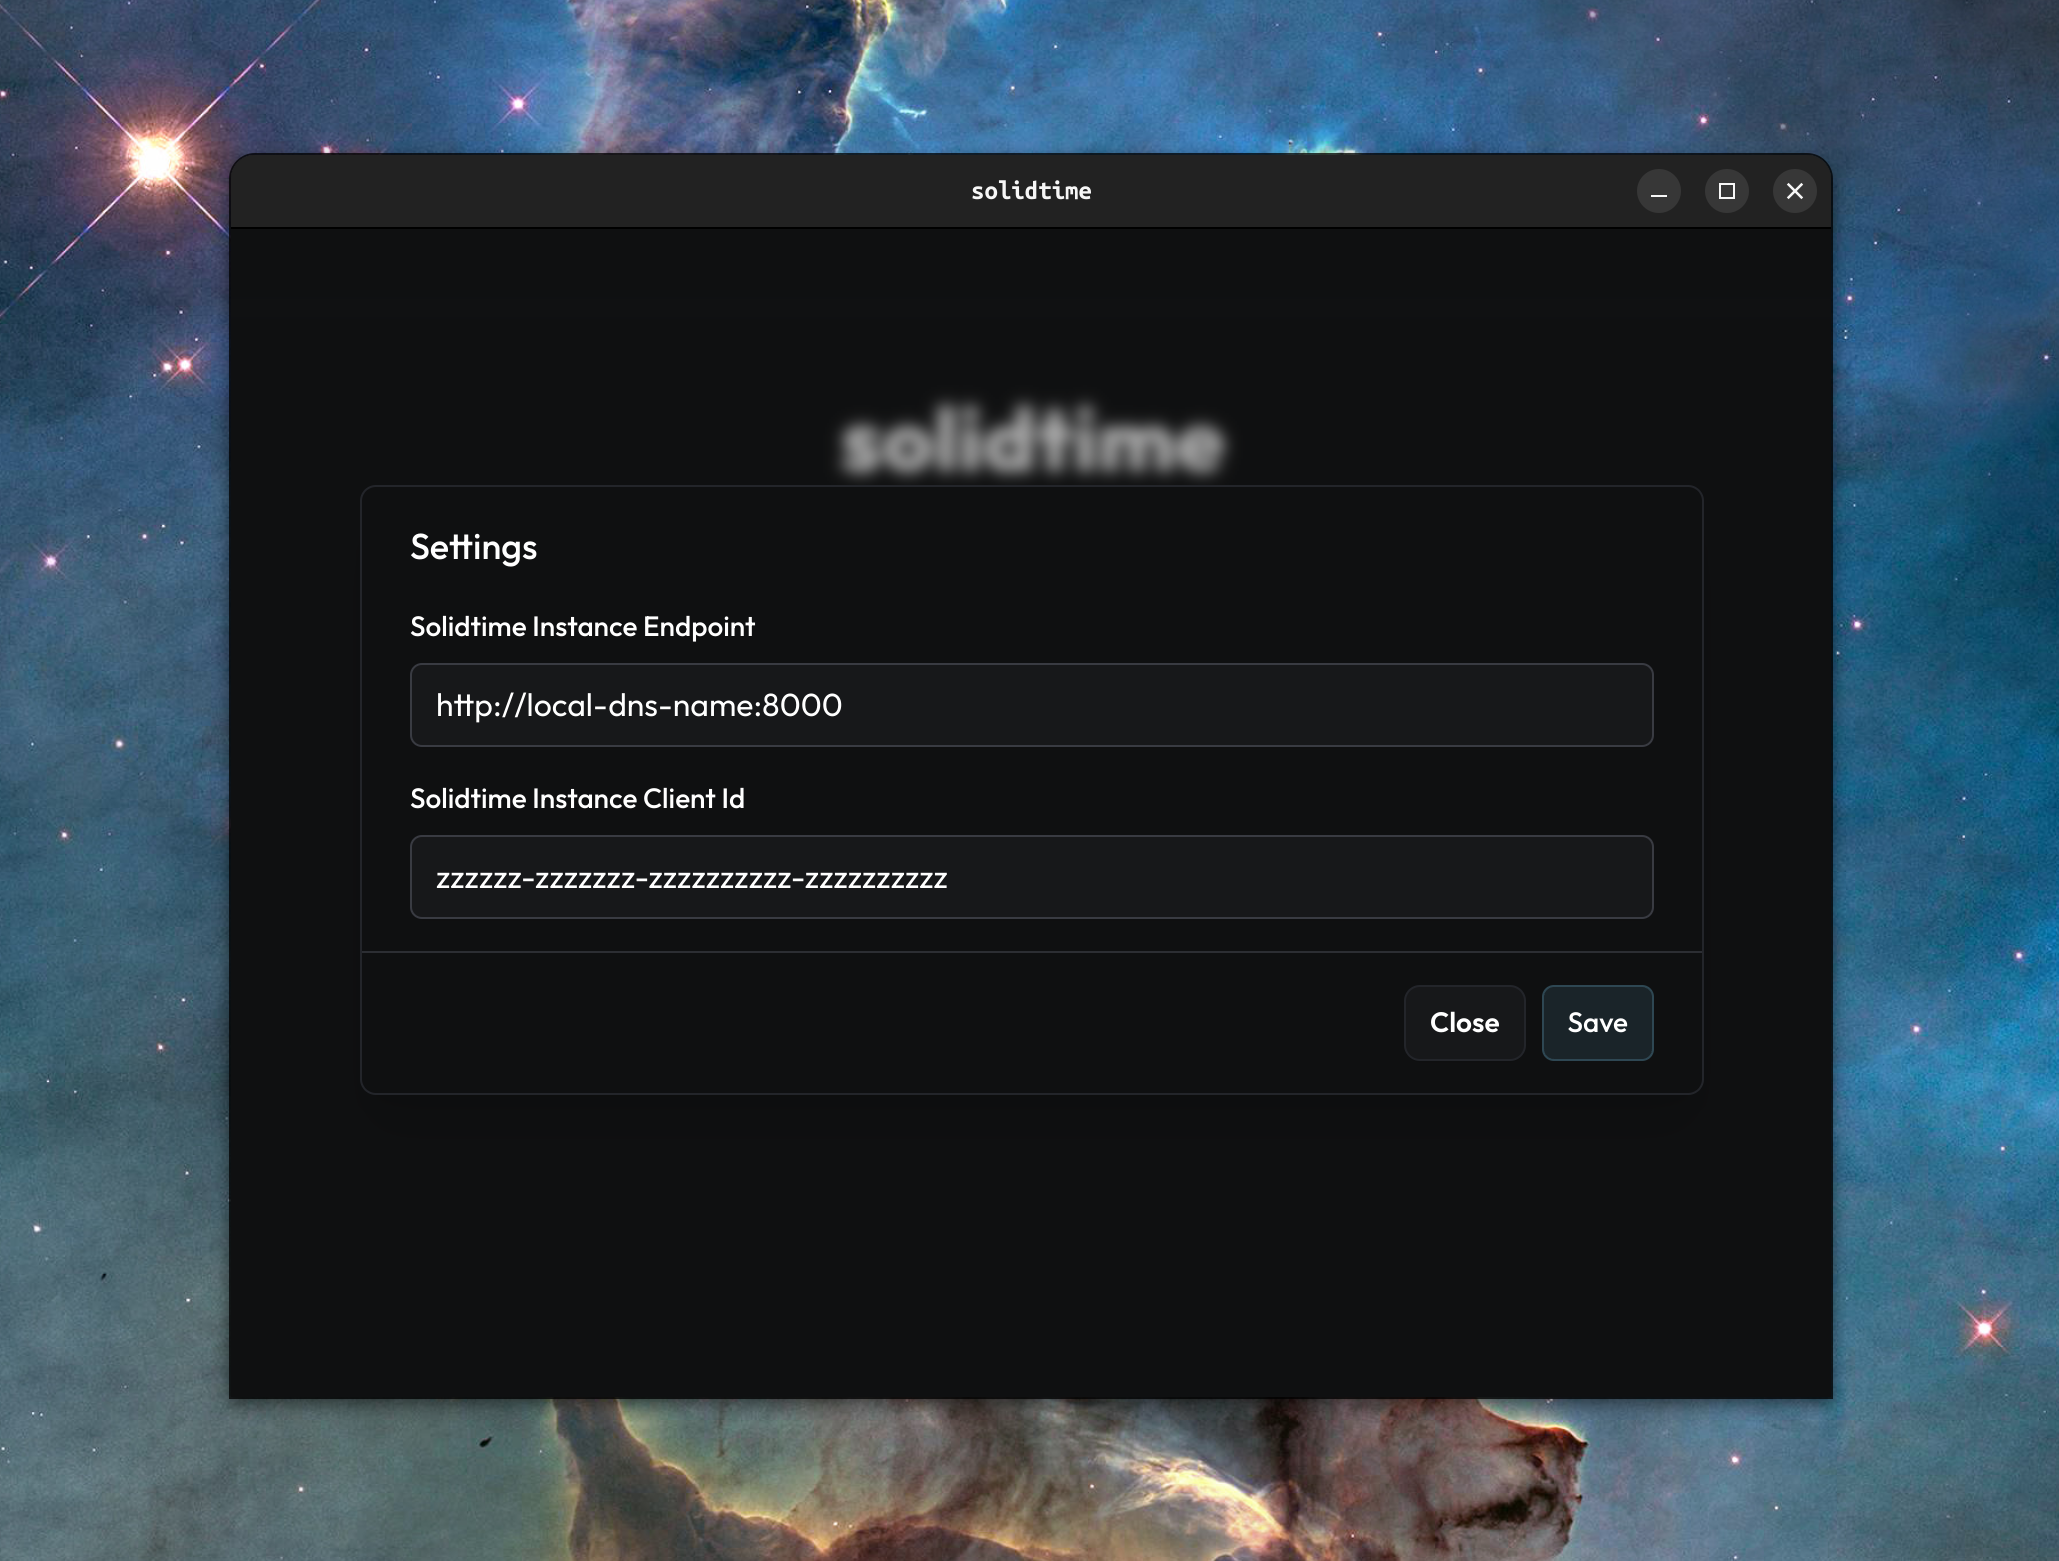
After configuring the client, you can log in.
If you’ve configured the client correctly, you’ll be redirected to your instance login page where you can log in.
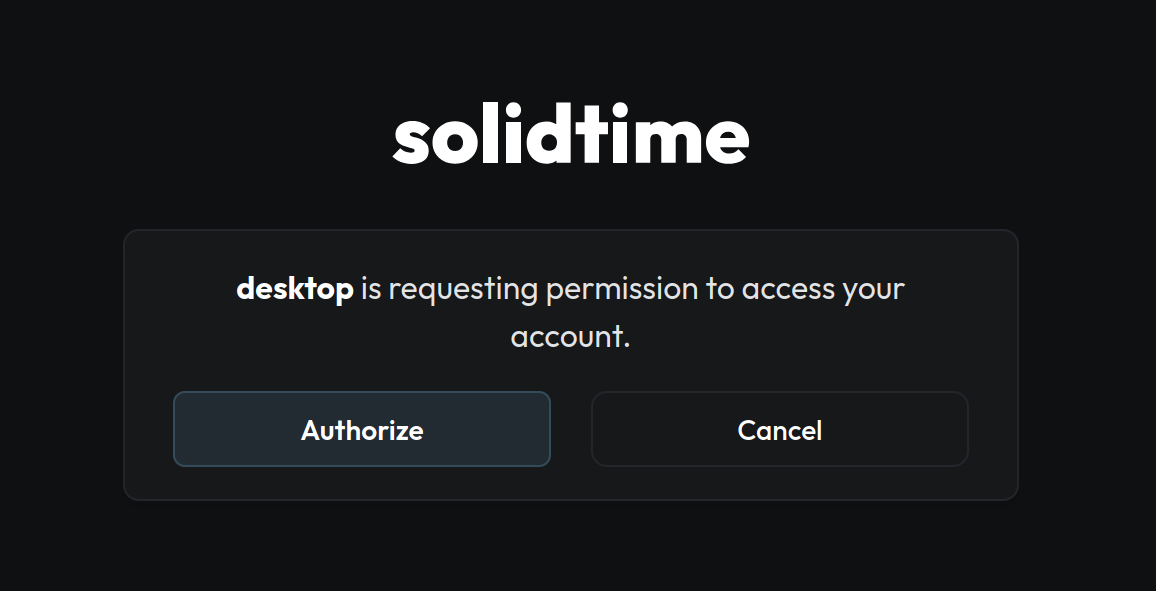
After logging in, you’ll need to authorize the client to access your account.
Now you’re all set and ready to start tracking time.
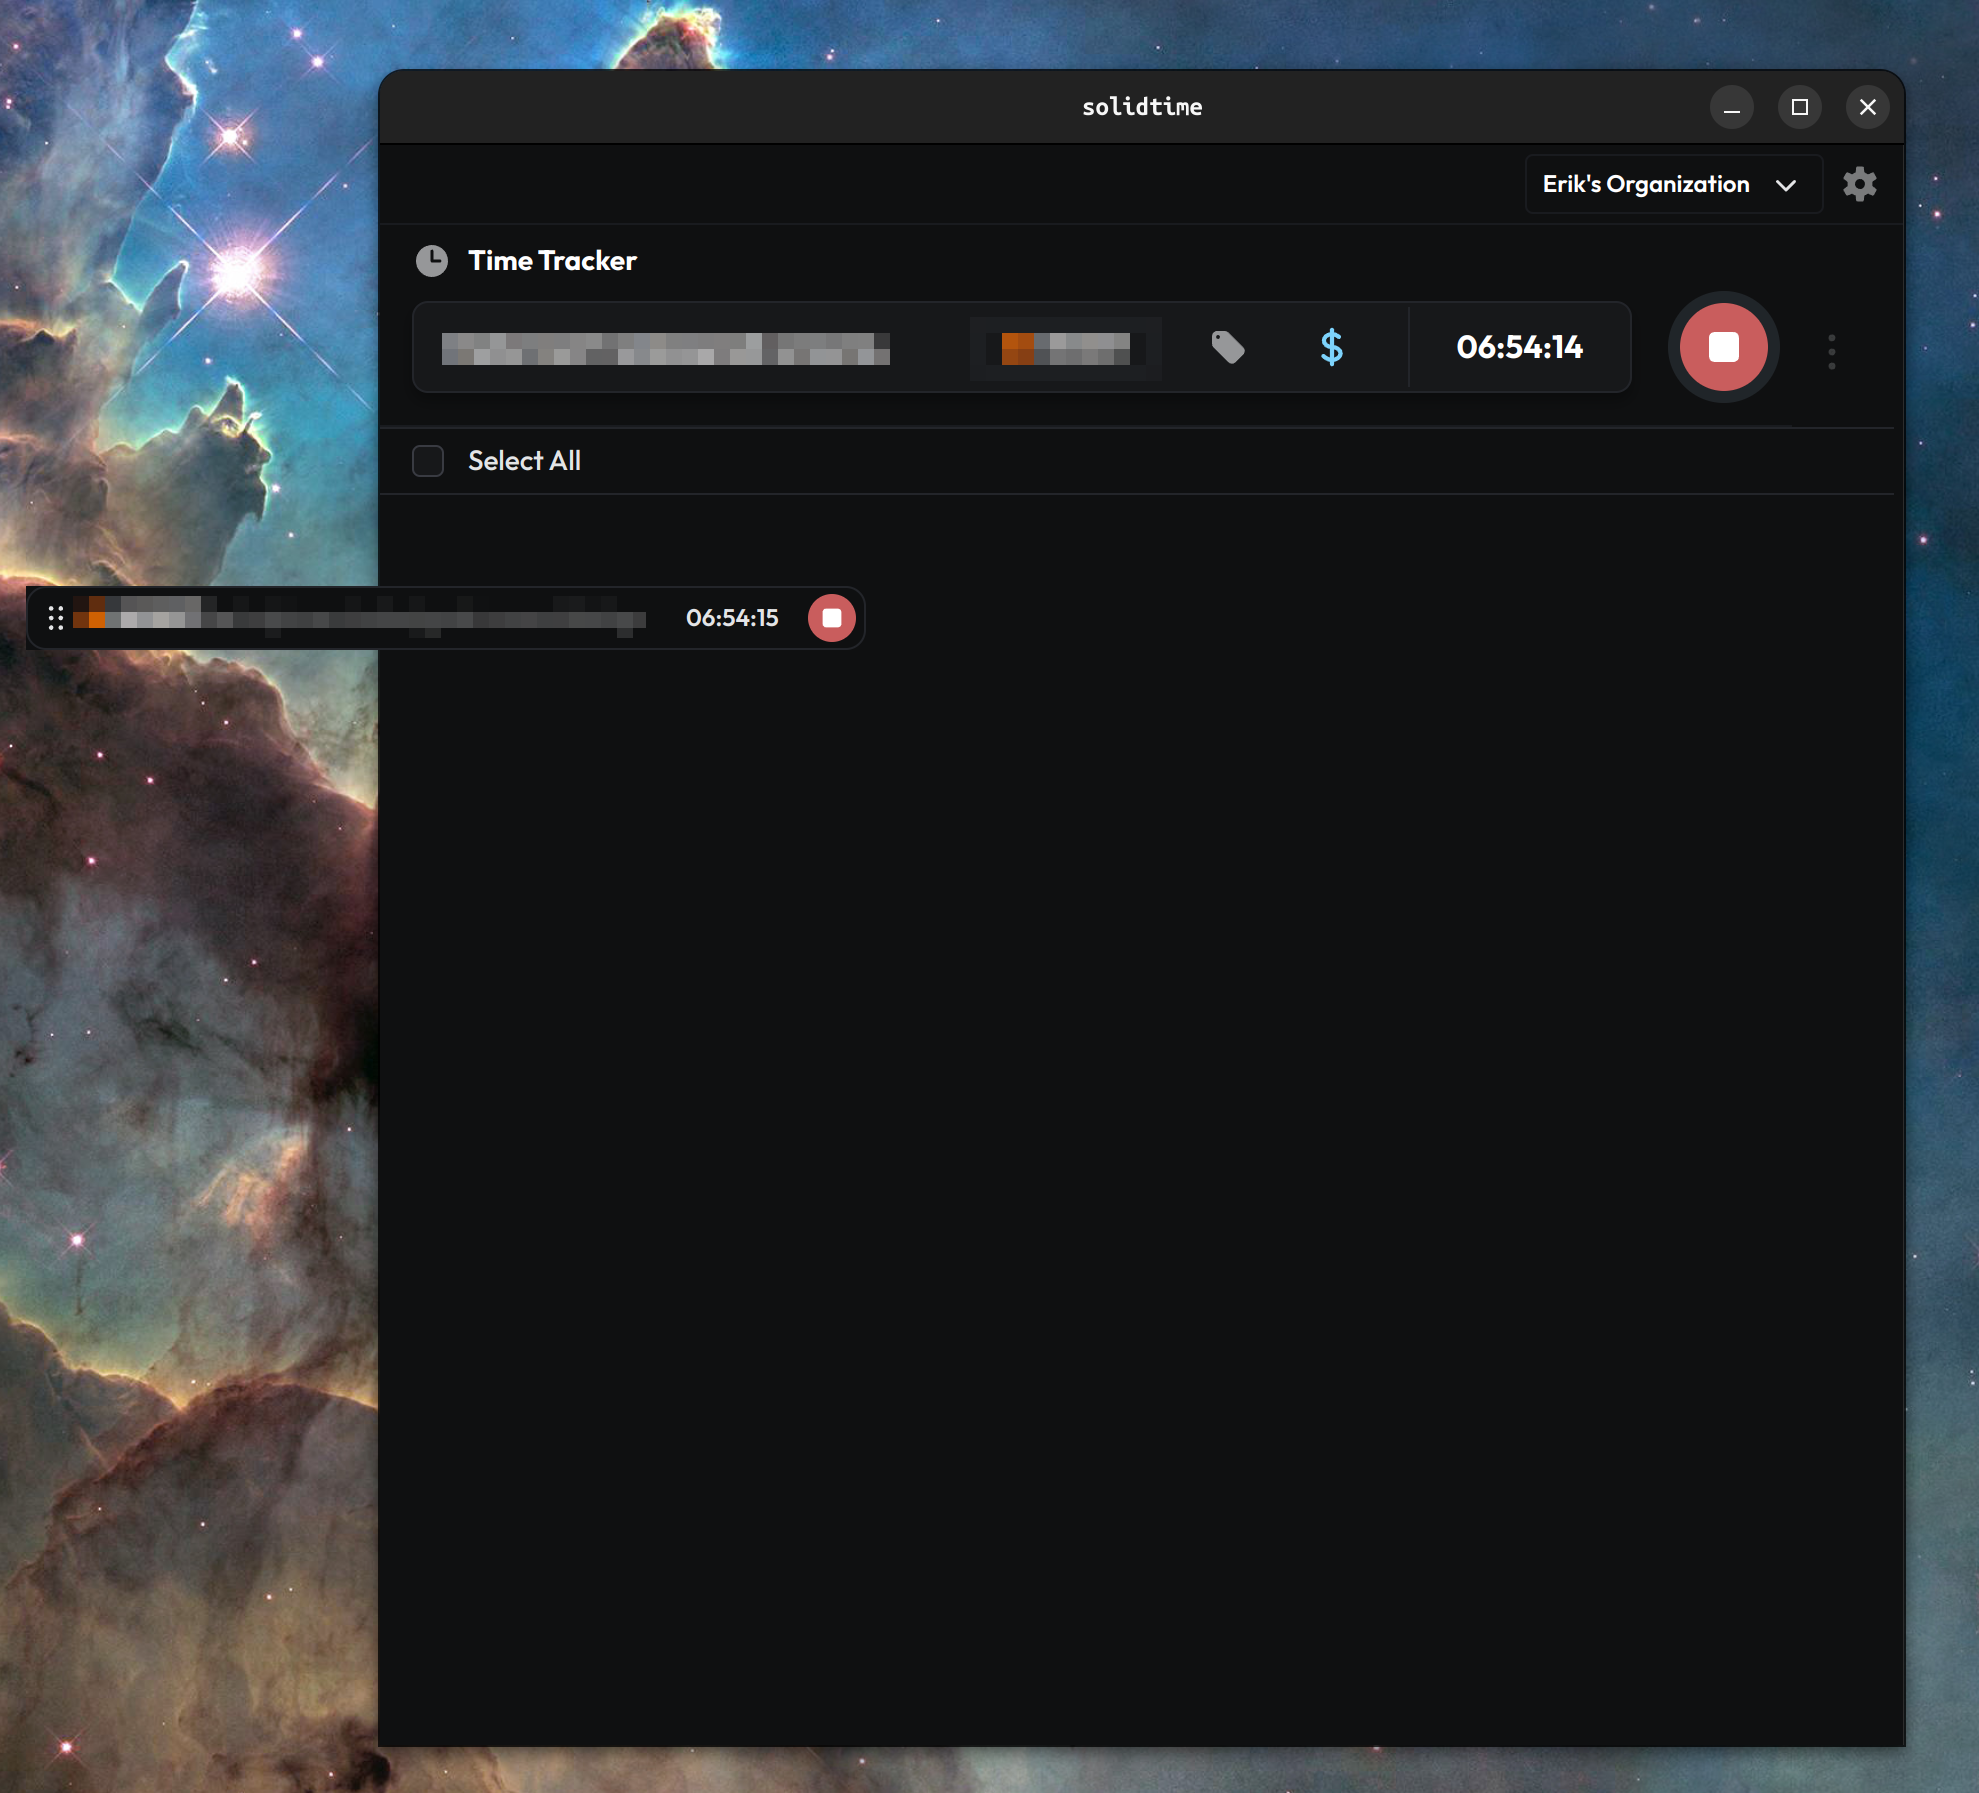
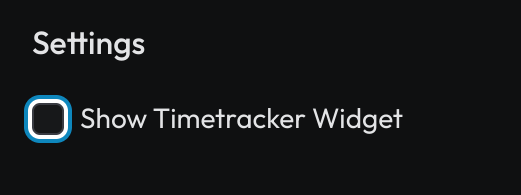
In my experience, the Desktop app is functional, but slightly buggy. When I first loaded it up, my main gripe was where the time entry would float outside of the main window. However, this appears to be an intended functionality which can be disabled in the settings.
Conclusion
SolidTime is a great alternative to Toggl if you’re focused on time tracking. The ability to self-host, the easy of setting it up, and the migration from Toggl are all great features.
The desktop client is a bit buggy, and I much prefer the Toggl desktop client. I’ll probably switch between it and the web version until I’m happy with one.
What I’m missing is an Android client. Sometimes I don’t have access to my laptop or desktop computer, and I need to track time on the go. For now, I’m tracking time on paper, since I’m not that keen on making my SolidTime installation publically available through a domain.